As a commercial photographer, much of my work involves photographing products for e-commerce and other marketing materials. I use both traditional photographic kit and techniques but more recently I’m being asked more about the benefits of CGI product shots. Each method has its place. Hopefully, this article will help you decide which is the best choice for your marketing images.

Traditional Photography
Traditional photo shoots require the product to be packaged and sent to the photographer, which is time-consuming, expensive, and impractical with certain products. The items need to be unpacked, cleaned and prepped ready to be photographed. Any damaged items will need to be swapped out or retouched after the shoot. Either way, this will add time and costs to the project.
The alternative is to have the photographer visit your company site and set up a temporary studio. You need to set aside a dedicated space for the duration of the shoot and factor into your budget any additional time and travel expenses.
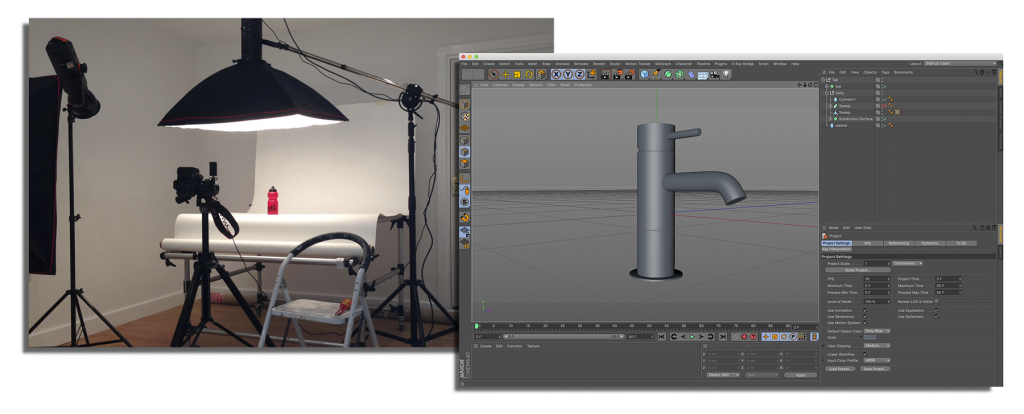
Whichever route is taken, the next step is the shoot. The lighting and camera positions need to be set up and matched to previous/existing images (if required). Test shots are fired off and colour balance adjusted. When all this is done, the product needs a final clean before being photographed. Once all of the images are captured, they are retouched, and in most cases, cut out from the background and have a new, uncomplicated (often unrealistic, too!) shadow added.
I want to be objective and transparent in that Photoshop can be used to automate tonal adjustments, colour balancing, and shadow replacement. This can reduce some of the costs and help create a very consistent style.
Traditional photography is still a great way to create product images but may not be your best solution. One major headache is when new products need to be photographed to match an existing style. The camera position, lens choice, lighting, colour balance and shadows need to be consistent with previous images. This involves tests and experimentation, all of which need to be accounted for in the budget.
Another big consideration is that marketing activity cannot properly start until the product is manufactured, or at least a prototype is available to shoot and retouch.
CGI Product Shots
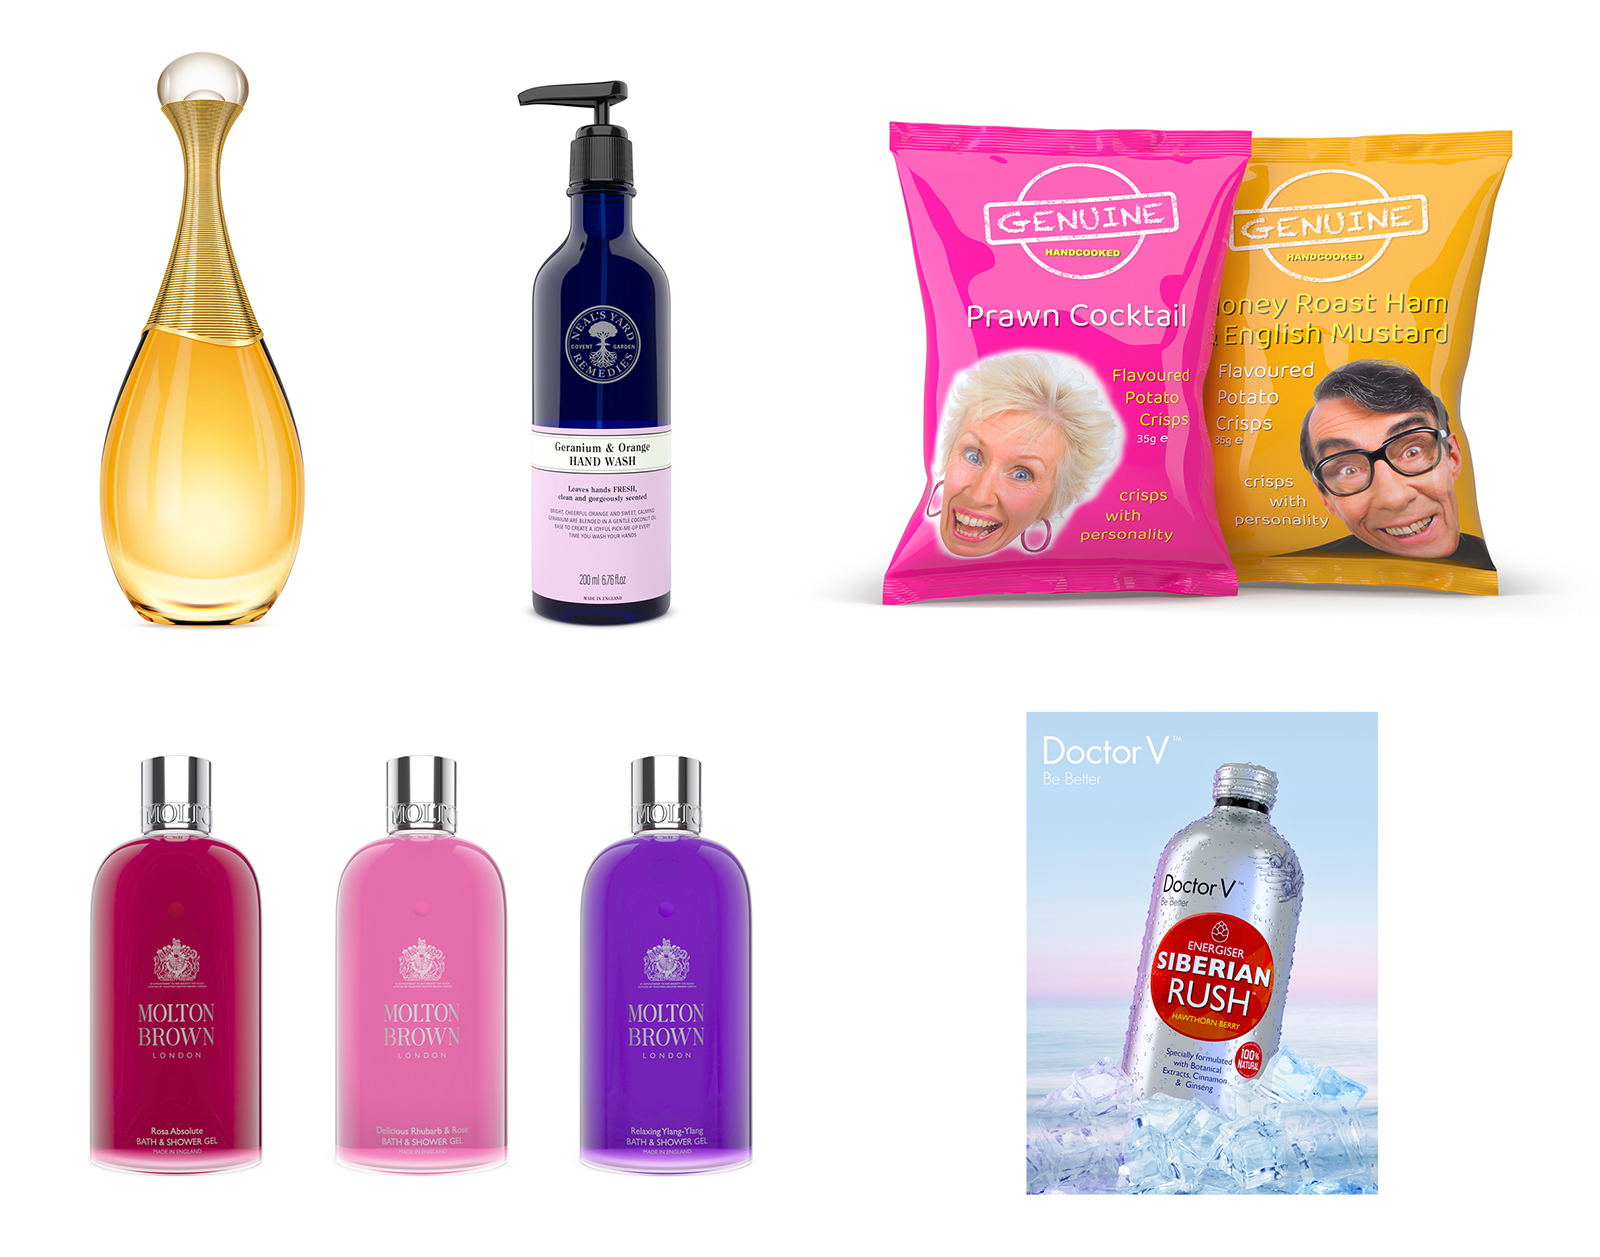
An exciting new approach is CGI product shots This is a simple process, and here’s the thing, the product doesn’t need to exist before creating high-quality marketing images. This is a major consideration as marketing activity can start before the product is manufactured or landed.
Now again, for total transparency, I need to say that not everything is an ideal candidate for the CGI product shot approach, but many are.
Having said that, depending on the intended use, the flexibility afforded with CGI can easily offset the costs of building organic or intricate models. All models can be infinitely re-used, from simple cut-outs to more complex lighting and background setups. They can be combined with existing images such as pre-shot backgrounds or flat lays and can also be animated using complex camera moves.
The first stage is to make an accurate model of the product. Models can be made from CAD Drawings, CAD data, measurements, reference photos or even a scribbled sketch with a few dimensions added. In addition, sometimes, pre-made models can be purchased and amended, saving time and costs. Each model becomes part of your asset library and can be repurposed as required for future use. This makes the CGI product shot process an attractive alternative to traditional photography as it can become considerably more cost-effective the more it’s used.
The next stage of the process is to texture the model. This involves recreating a digital version of the materials used in the product’s manufacture. There are many pre-made materials to use as a start point, such as plastics, metals, glass, ceramics etc.…. These materials are combined with your artwork/decals to complete the texturing process.
Next, we bring the model into the virtual studio. We can easily and quickly experiment with camera positions, lens choice and lighting to match into an existing style or create a unique look. There are some really useful tricks that can be used when creating cgi product images, for example it’s possible to turn shadows on or off. It’s also possible to isolate and light specific areas of the product. These two tricks can be used to craft complex lighting that would require multiple captures and extensive retouching to achieve traditionally. Real smoke ‘n’ mirrors, real time and money savers.
Throughout the ‘crafting’ process test renders are shared to establish and agree that the model, lighting and materials are accurate and photorealistic. Once we have a look, the studio “set” is saved. Other looks/styles can be developed and saved during this stage too, all adding to your expanding asset library. For future products, ‘sets’ can be reused in the certainty that the look style is completely consistent with the predefined brand guidelines.
Final renders can be output at any resolution with masks to aid and minimise expensive post-production work. Here are a couple of examples of the use of masks when outputting cgi product images.
Example A
The product can be isolated from the background with a mask. Once opened in Photoshop, the mask can be used to split the product from the background and allow a new one to be added. This can be a massive time and money saver.

Example B
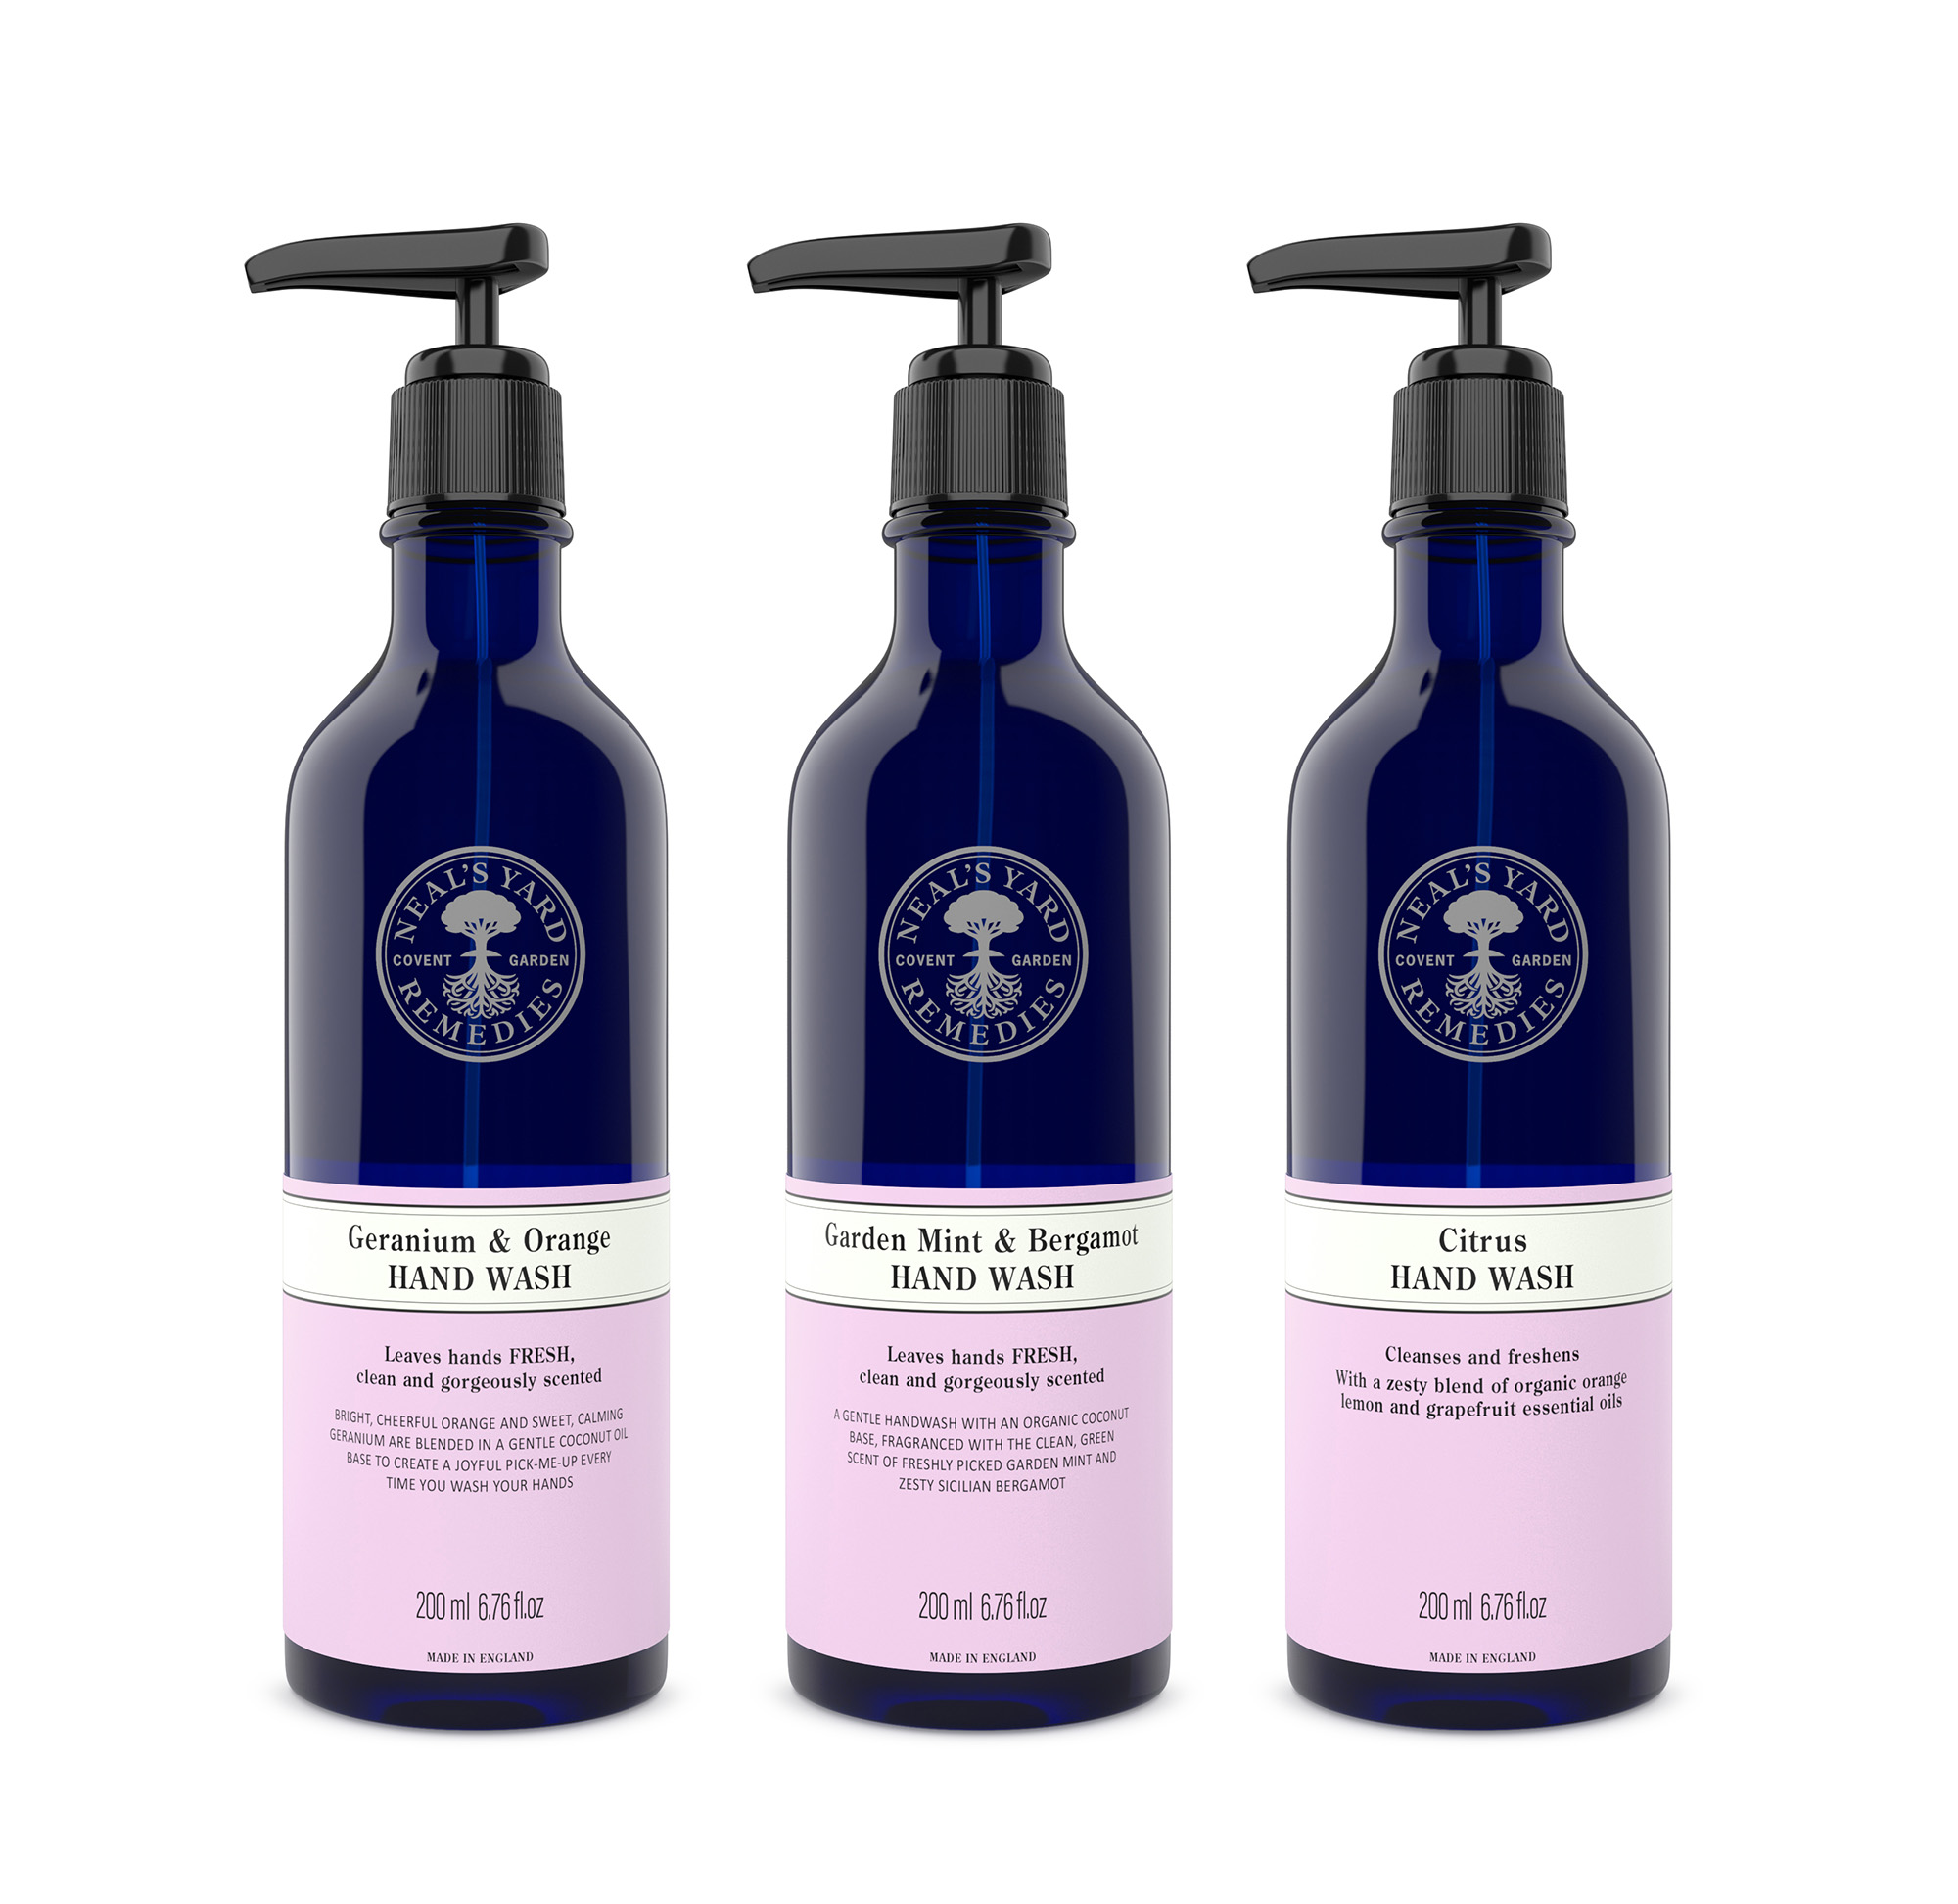
Imagine a series of products that all share an identical shape/size. The only difference is the labels. A series of renders of only the labels can be made each with a mask. These can then be batch replaced in Photoshop, with huge time and costs savings.

.
So, overall CGI product shots can be very cost-effective, incredibly flexible, and a sensible choice to create e-commerce and others marketing assets.
What’s right for you? Get in touch, and I’d be happy to discuss and advise.
