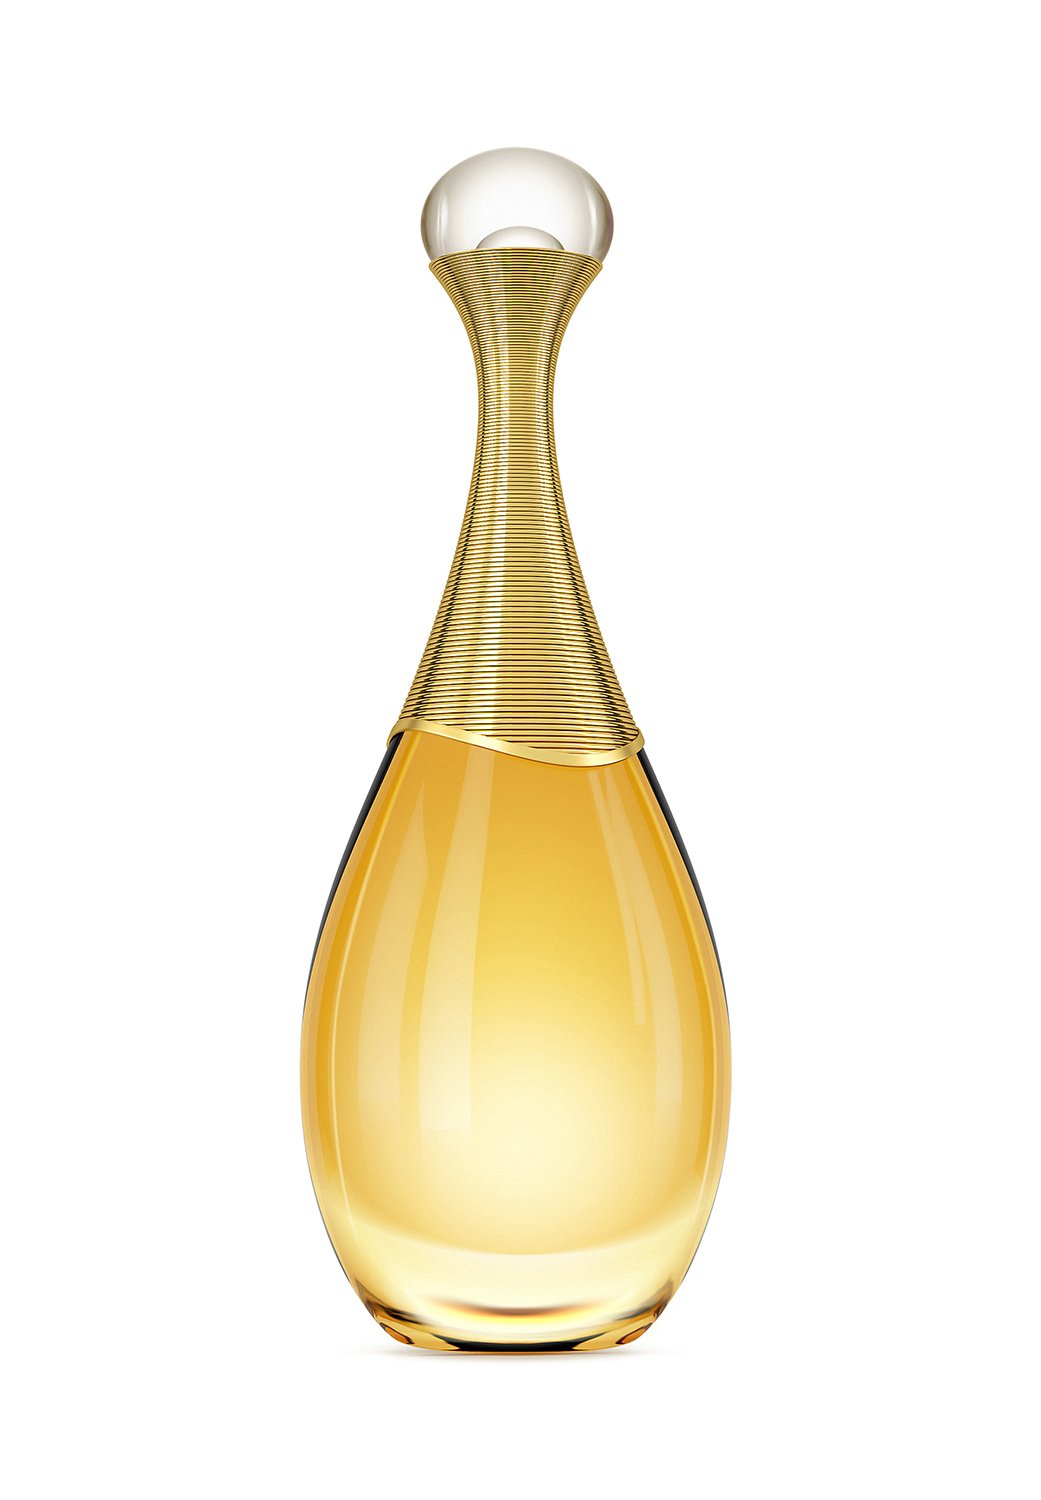
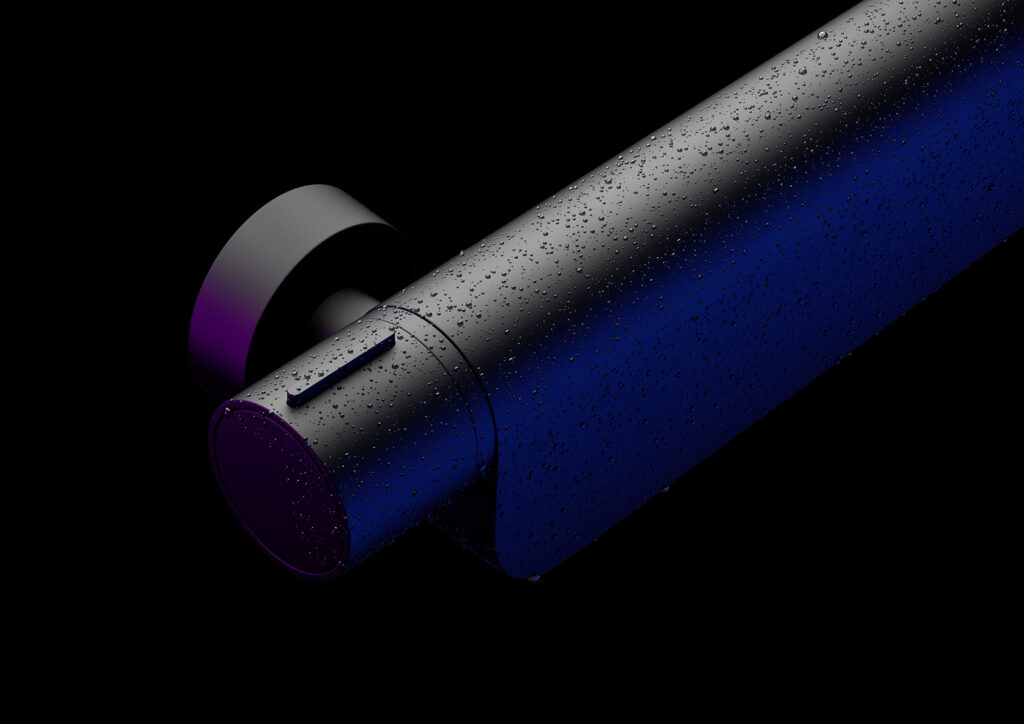
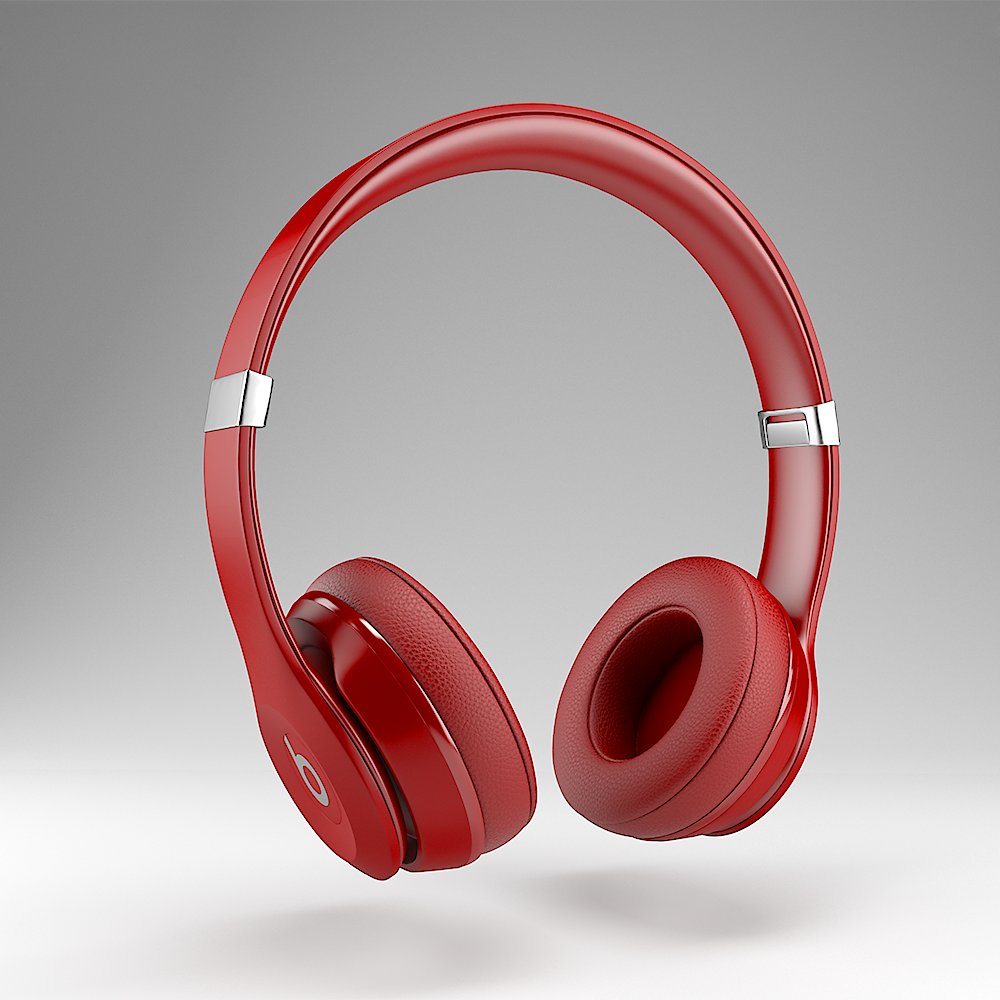
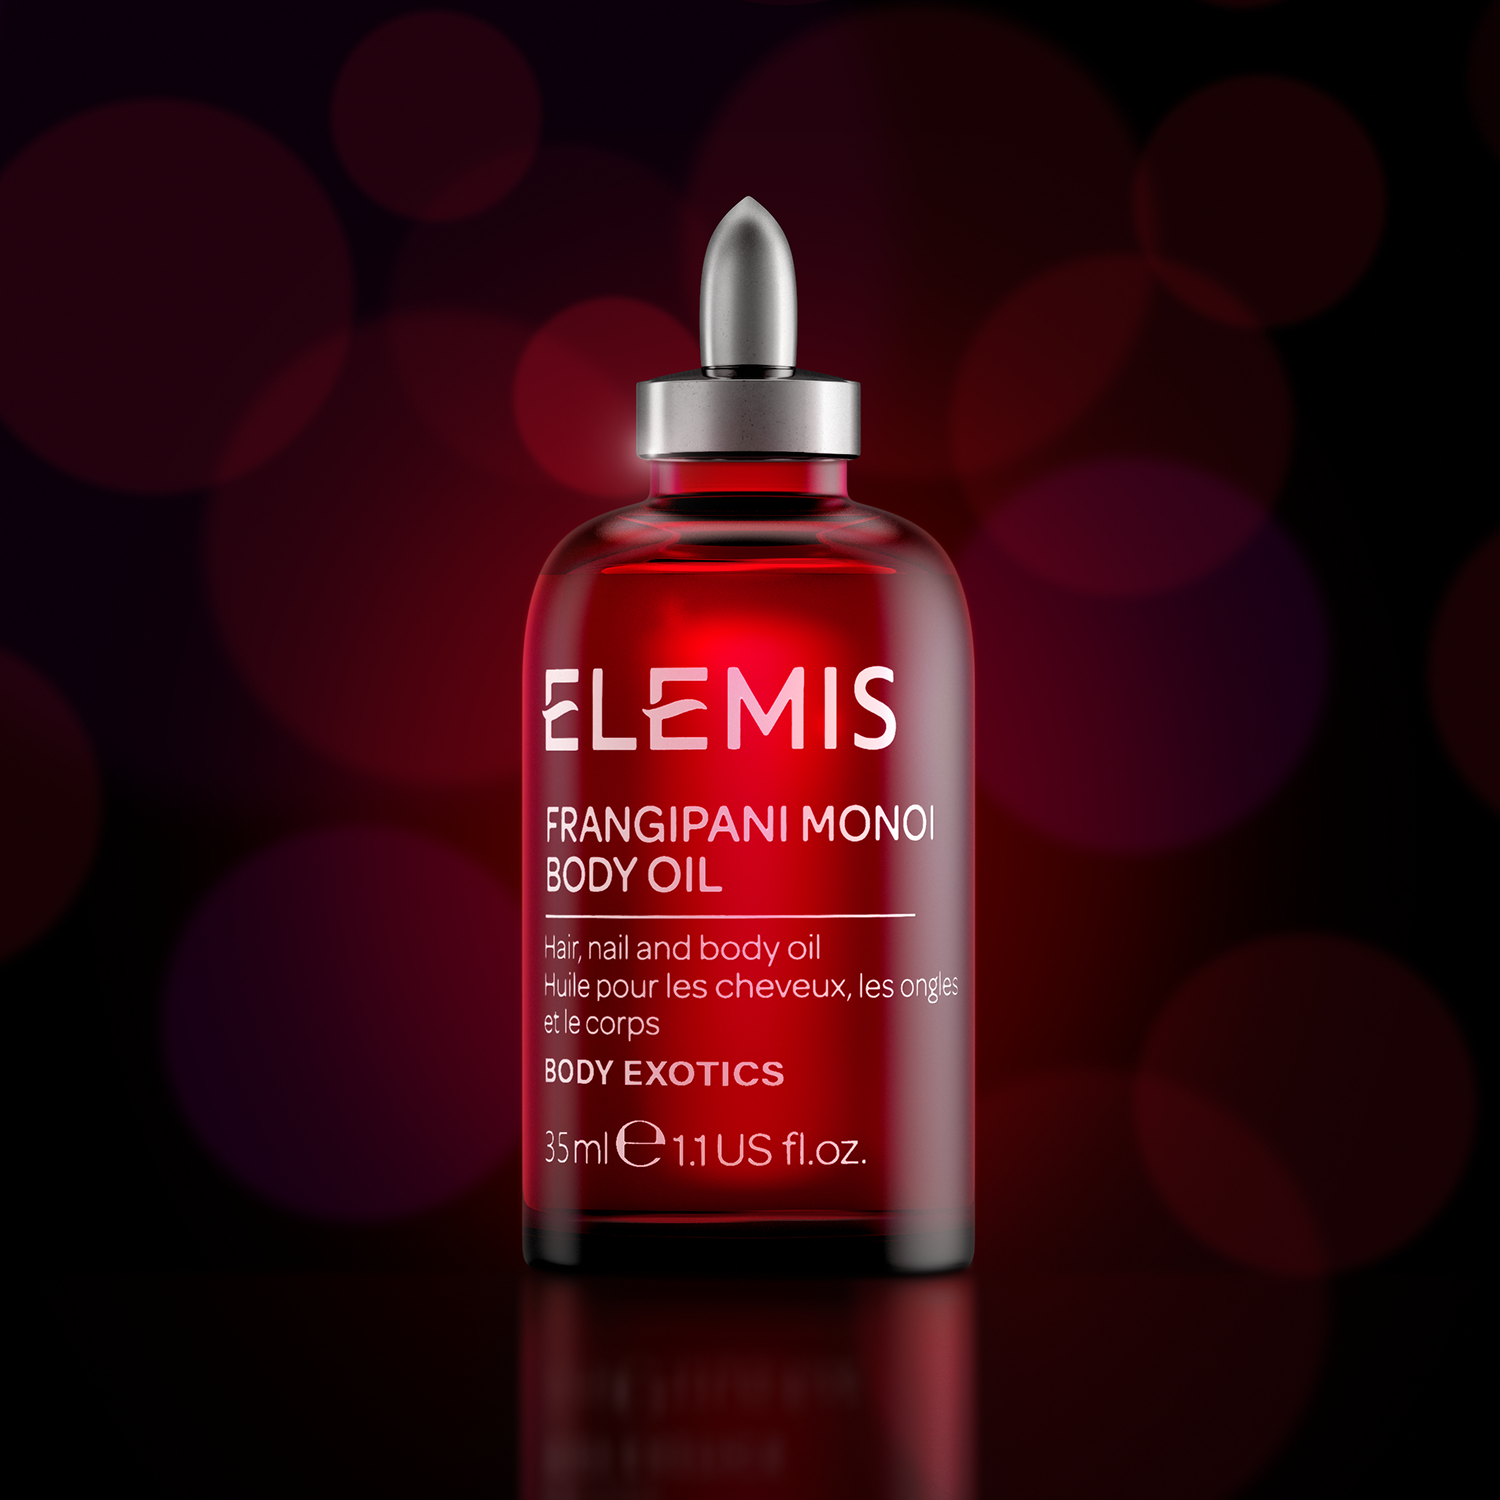
CGI product shots
CGI is an ideal way to create photorealistic and cost-effective images. It also allows you to manipulate colors, textures and lighting effects easily. A major advantage of CGI product photography is it’s resource-saving features in time and money, another advantage is flexibility. CGI was once best suited for products with hard surfaces but now soft body products can be rendered convincingly too.
I use the same principles, techniques and attention to detail as if I were shooting with cameras. Reflectors, lighting and composition are used in the same way, the difference being, it’s all done in a virtual studio!
CGI is a sensible choice for your product shots. Images can be optimised for multiple channels quickly, easily and with total consistency.
You don’t have to wait until the product is manufactured or have costly prototypes made, as you would in the case of traditional photography. I can model from drawings or CAD data, allowing you to start marketing at the earliest opportunity.
Your images can be output at any size and resolution. All perfectly optimised for online or print-ready use.
Images can be supplied in many formats such as PSD, JPG, PNG, and TIF. They can be output with transparency, saving you time and money, creating paths and cutting out.
No shipping is required for your products; you’ll make savings in time, cost and risk of delivery damage.
Flawless, consistent, repeatable images that are vibrant and colour correct without the need for additional retouching.
All of this without having to leave your office!
Here’s an article that gives a few good reasons why many top companies are switching to CGI for product shots.
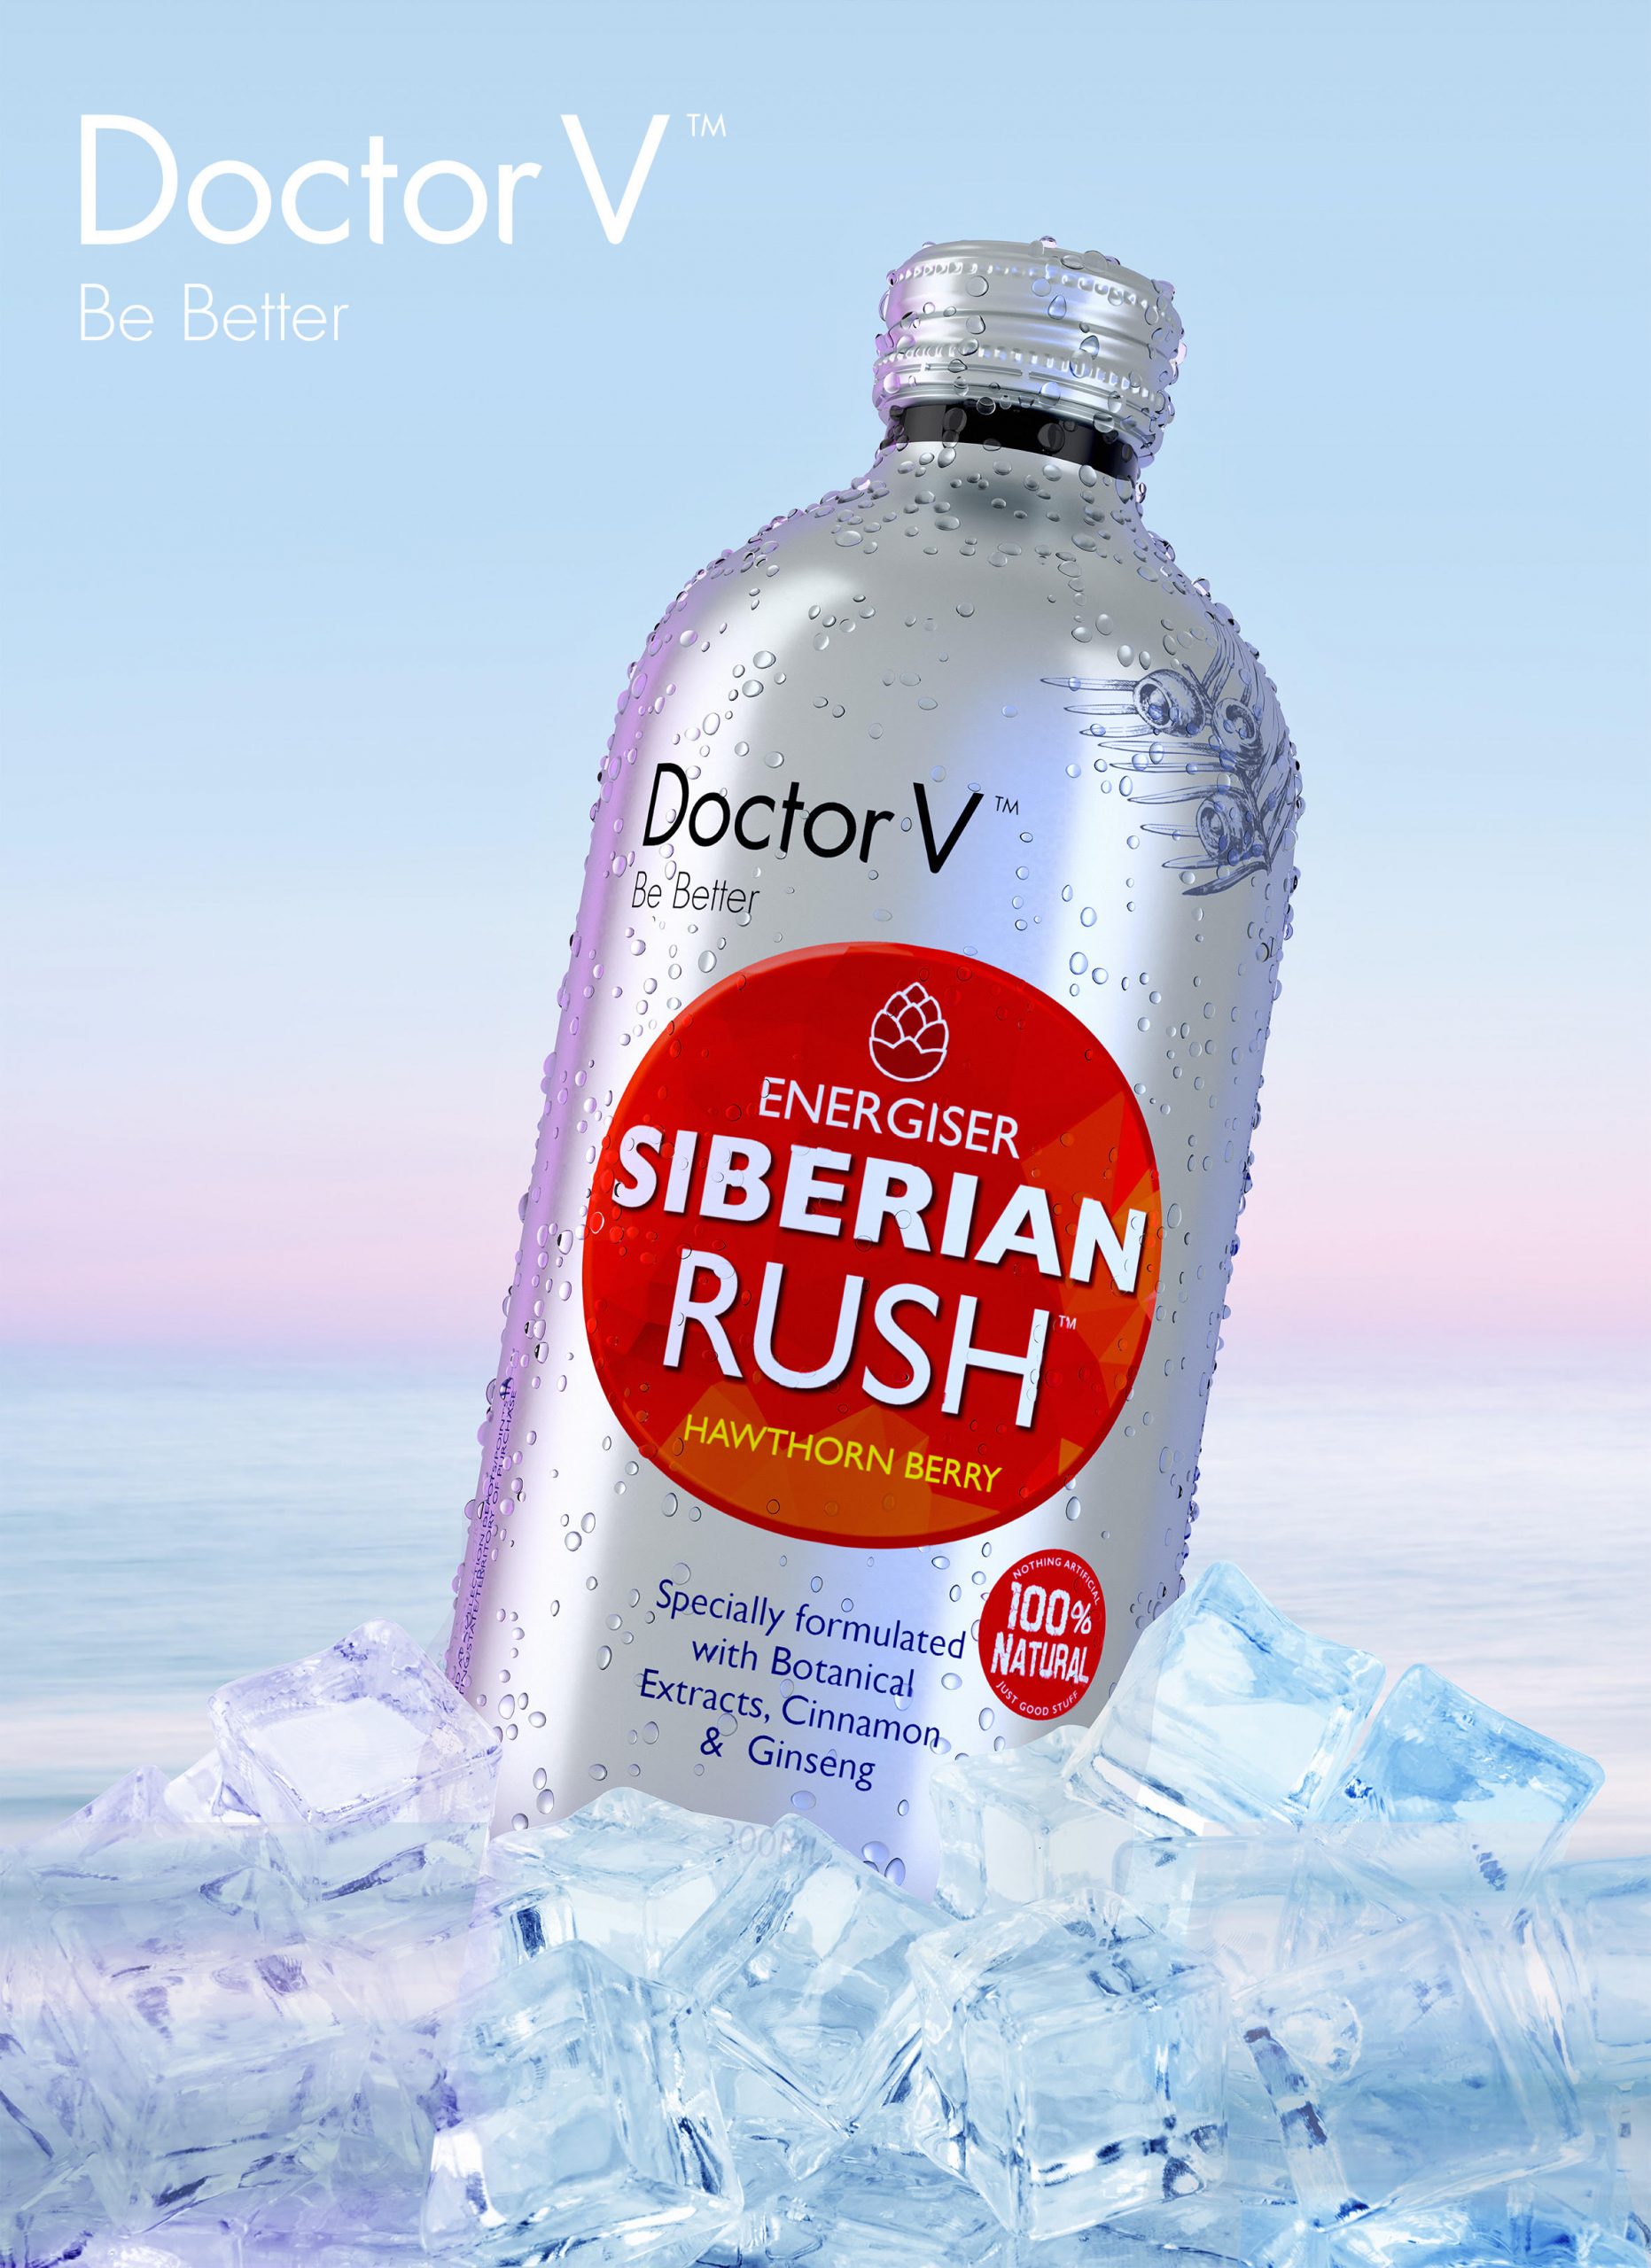
What’s the process?
Creating cgi product shots can be broken down into several key stages: concept development, 3D modeling, texturing, lighting, rendering, and post-production.
Concept development: This stage involves gathering reference material and information about the product, how and where the images will be used. I can work with sketches, photographs, cad files or existing products.
3D Modeling: The next step is to create a 3D model of the product. Using software like Cinema 4D, 3ds Max, and Blender I meticulously craft the model, ensuring that it accurately represents the real product in terms of shape, size, and details.
Texturing: Texturing involves accurately recreating the materials and surfaces of the product. This includes creating and applying diffuse maps (which define the base color of the surface), specular maps (which define the shininess), and normal maps (which add surface detail).
Lighting: Just like traditional photography, professional lighting is crucial. I use many of the same techniques that I would for digital photography.
Rendering: Rendering is the process of generating the final 2D image from the 3D model. It’s the culmination of the model, the lighting, the texturing and composition. Renders are incredibly flexible as they can be made at any size/aspect ratio, meaning that the quality is fully optomised for the inteded usage.
Post-Production: The final stage is post-production, where the rendered image is polished and refined. This may involve color correction, exposure adjustments, or adding additional effects, to enhance the overall look of the product shot.
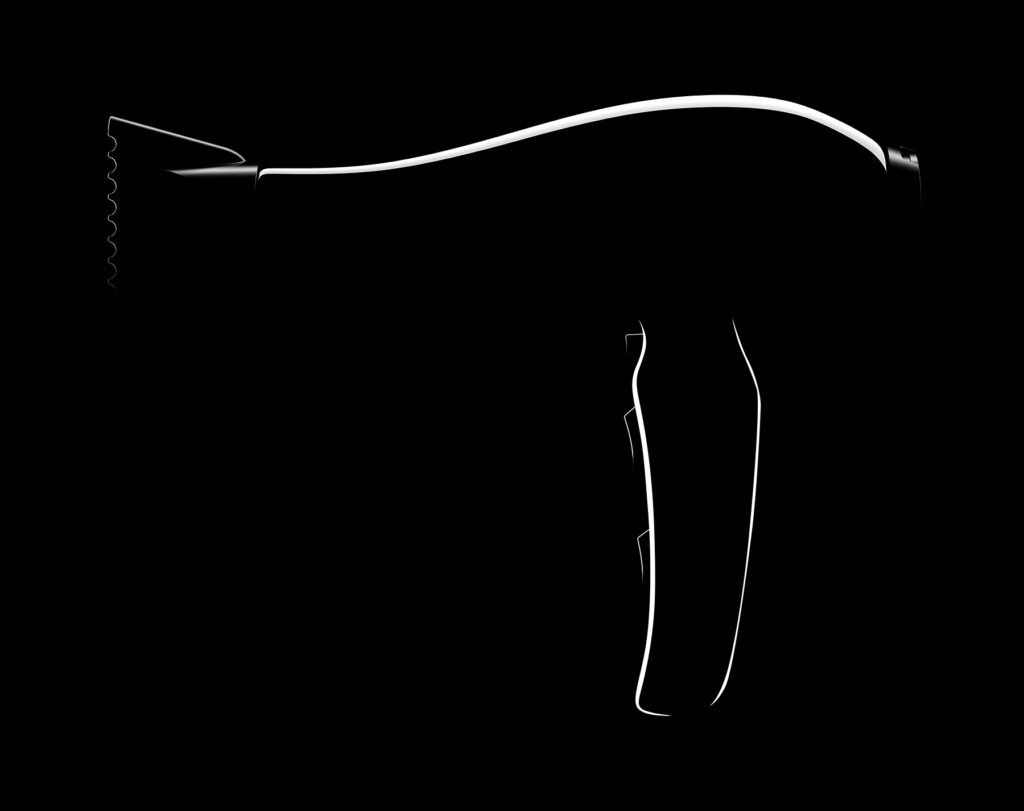
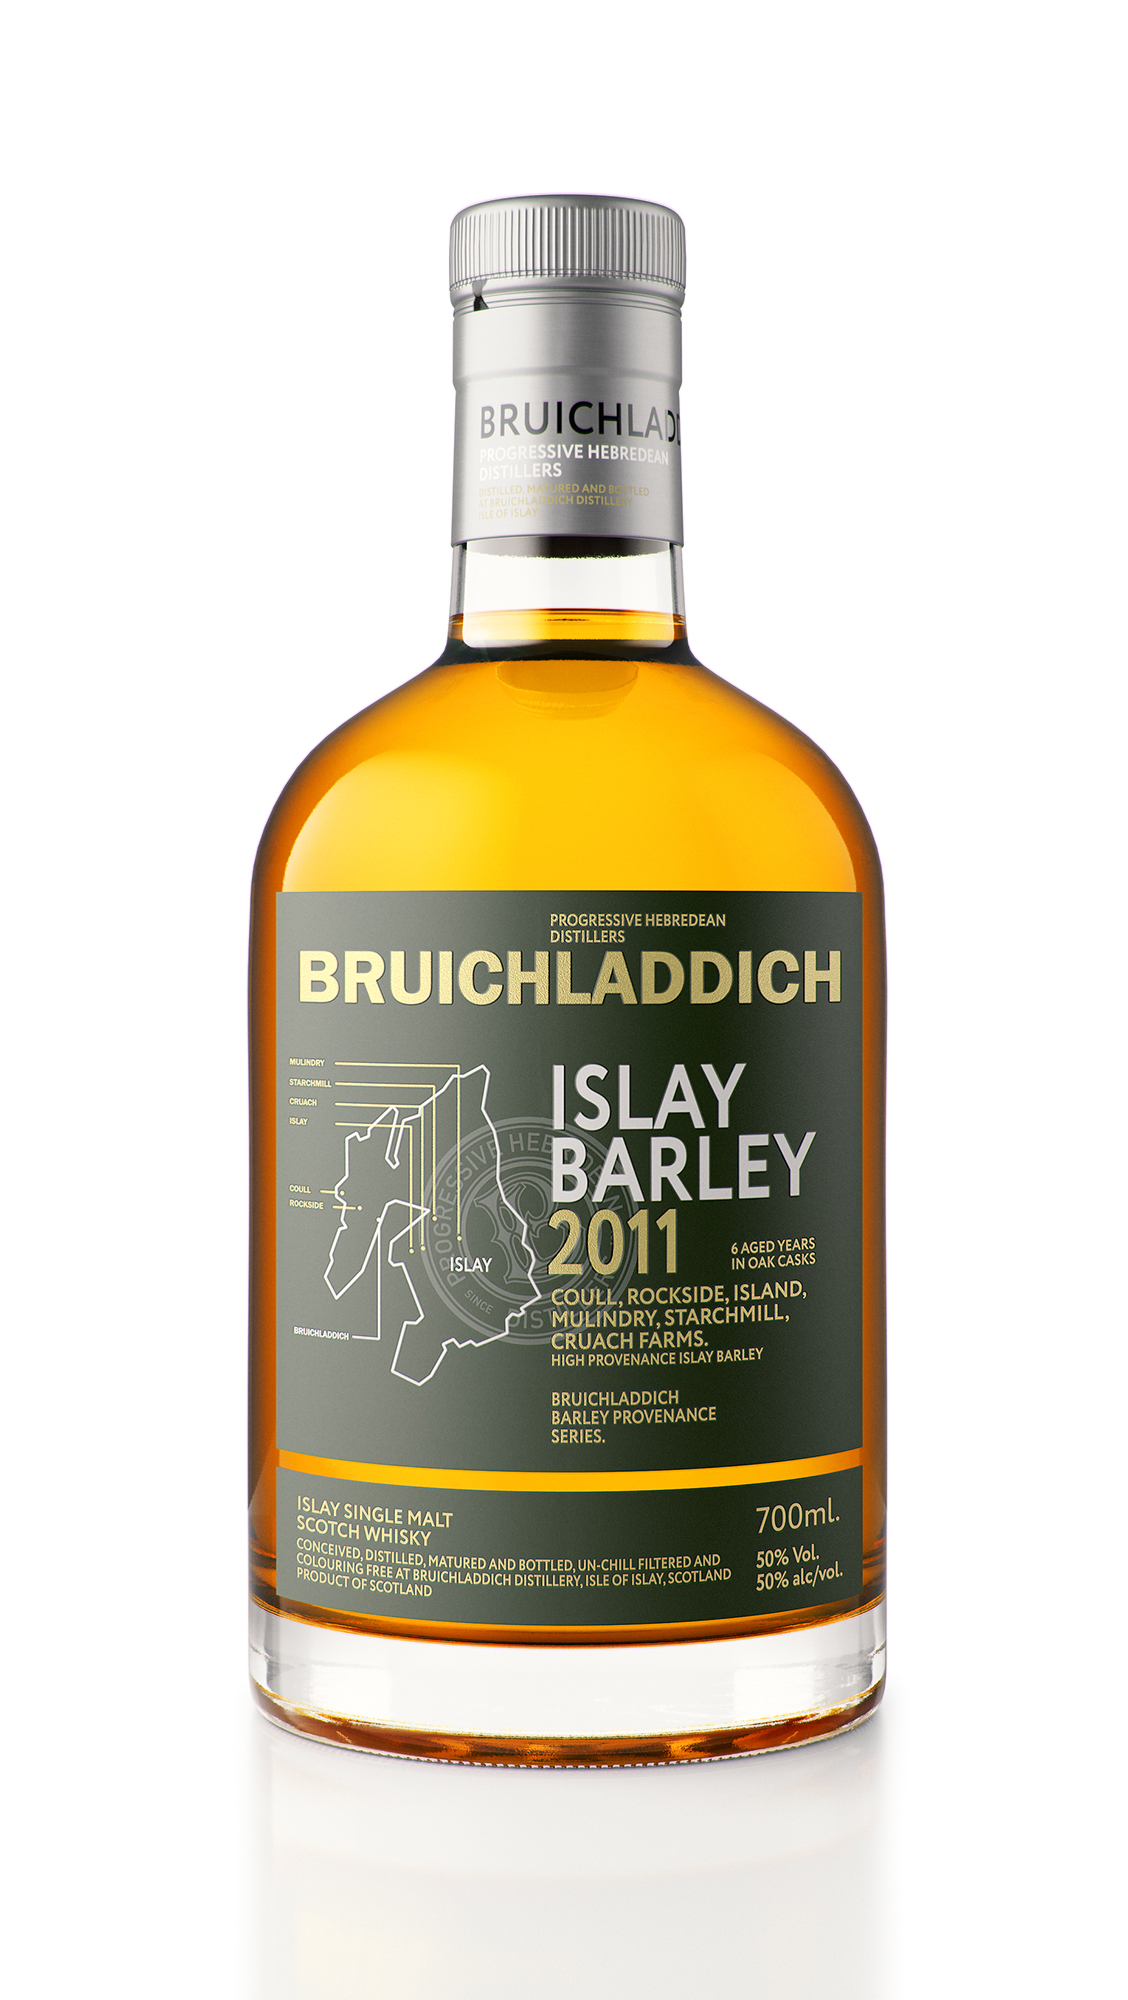
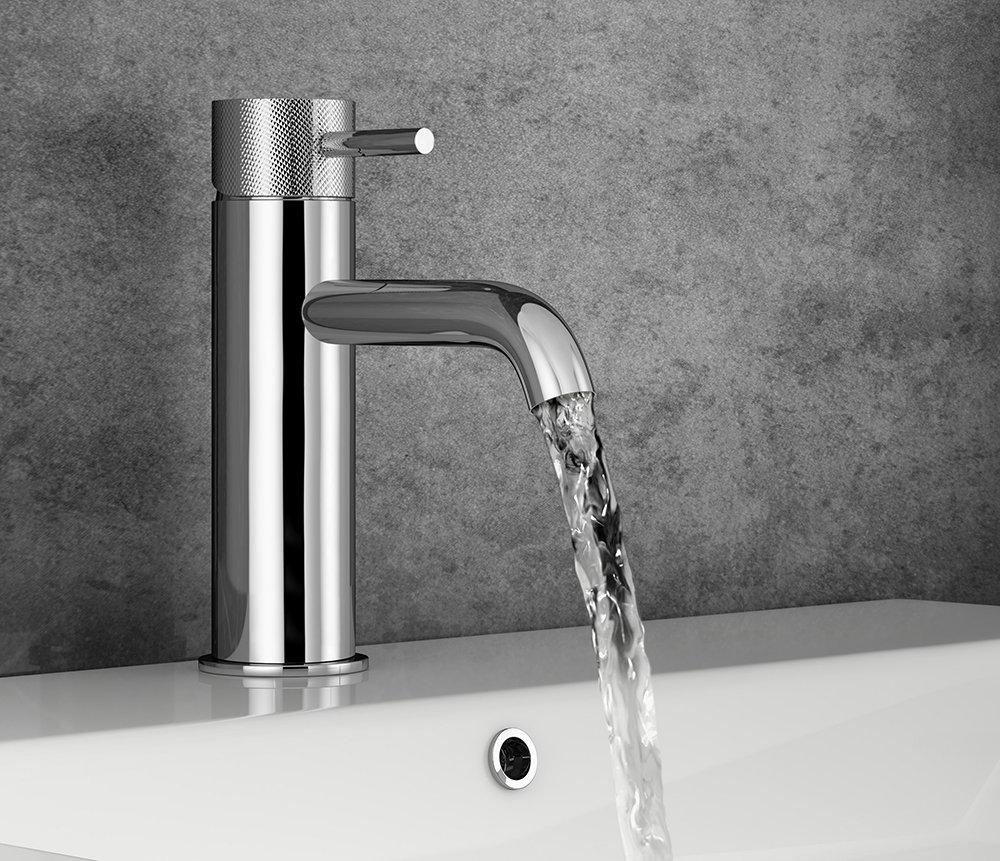
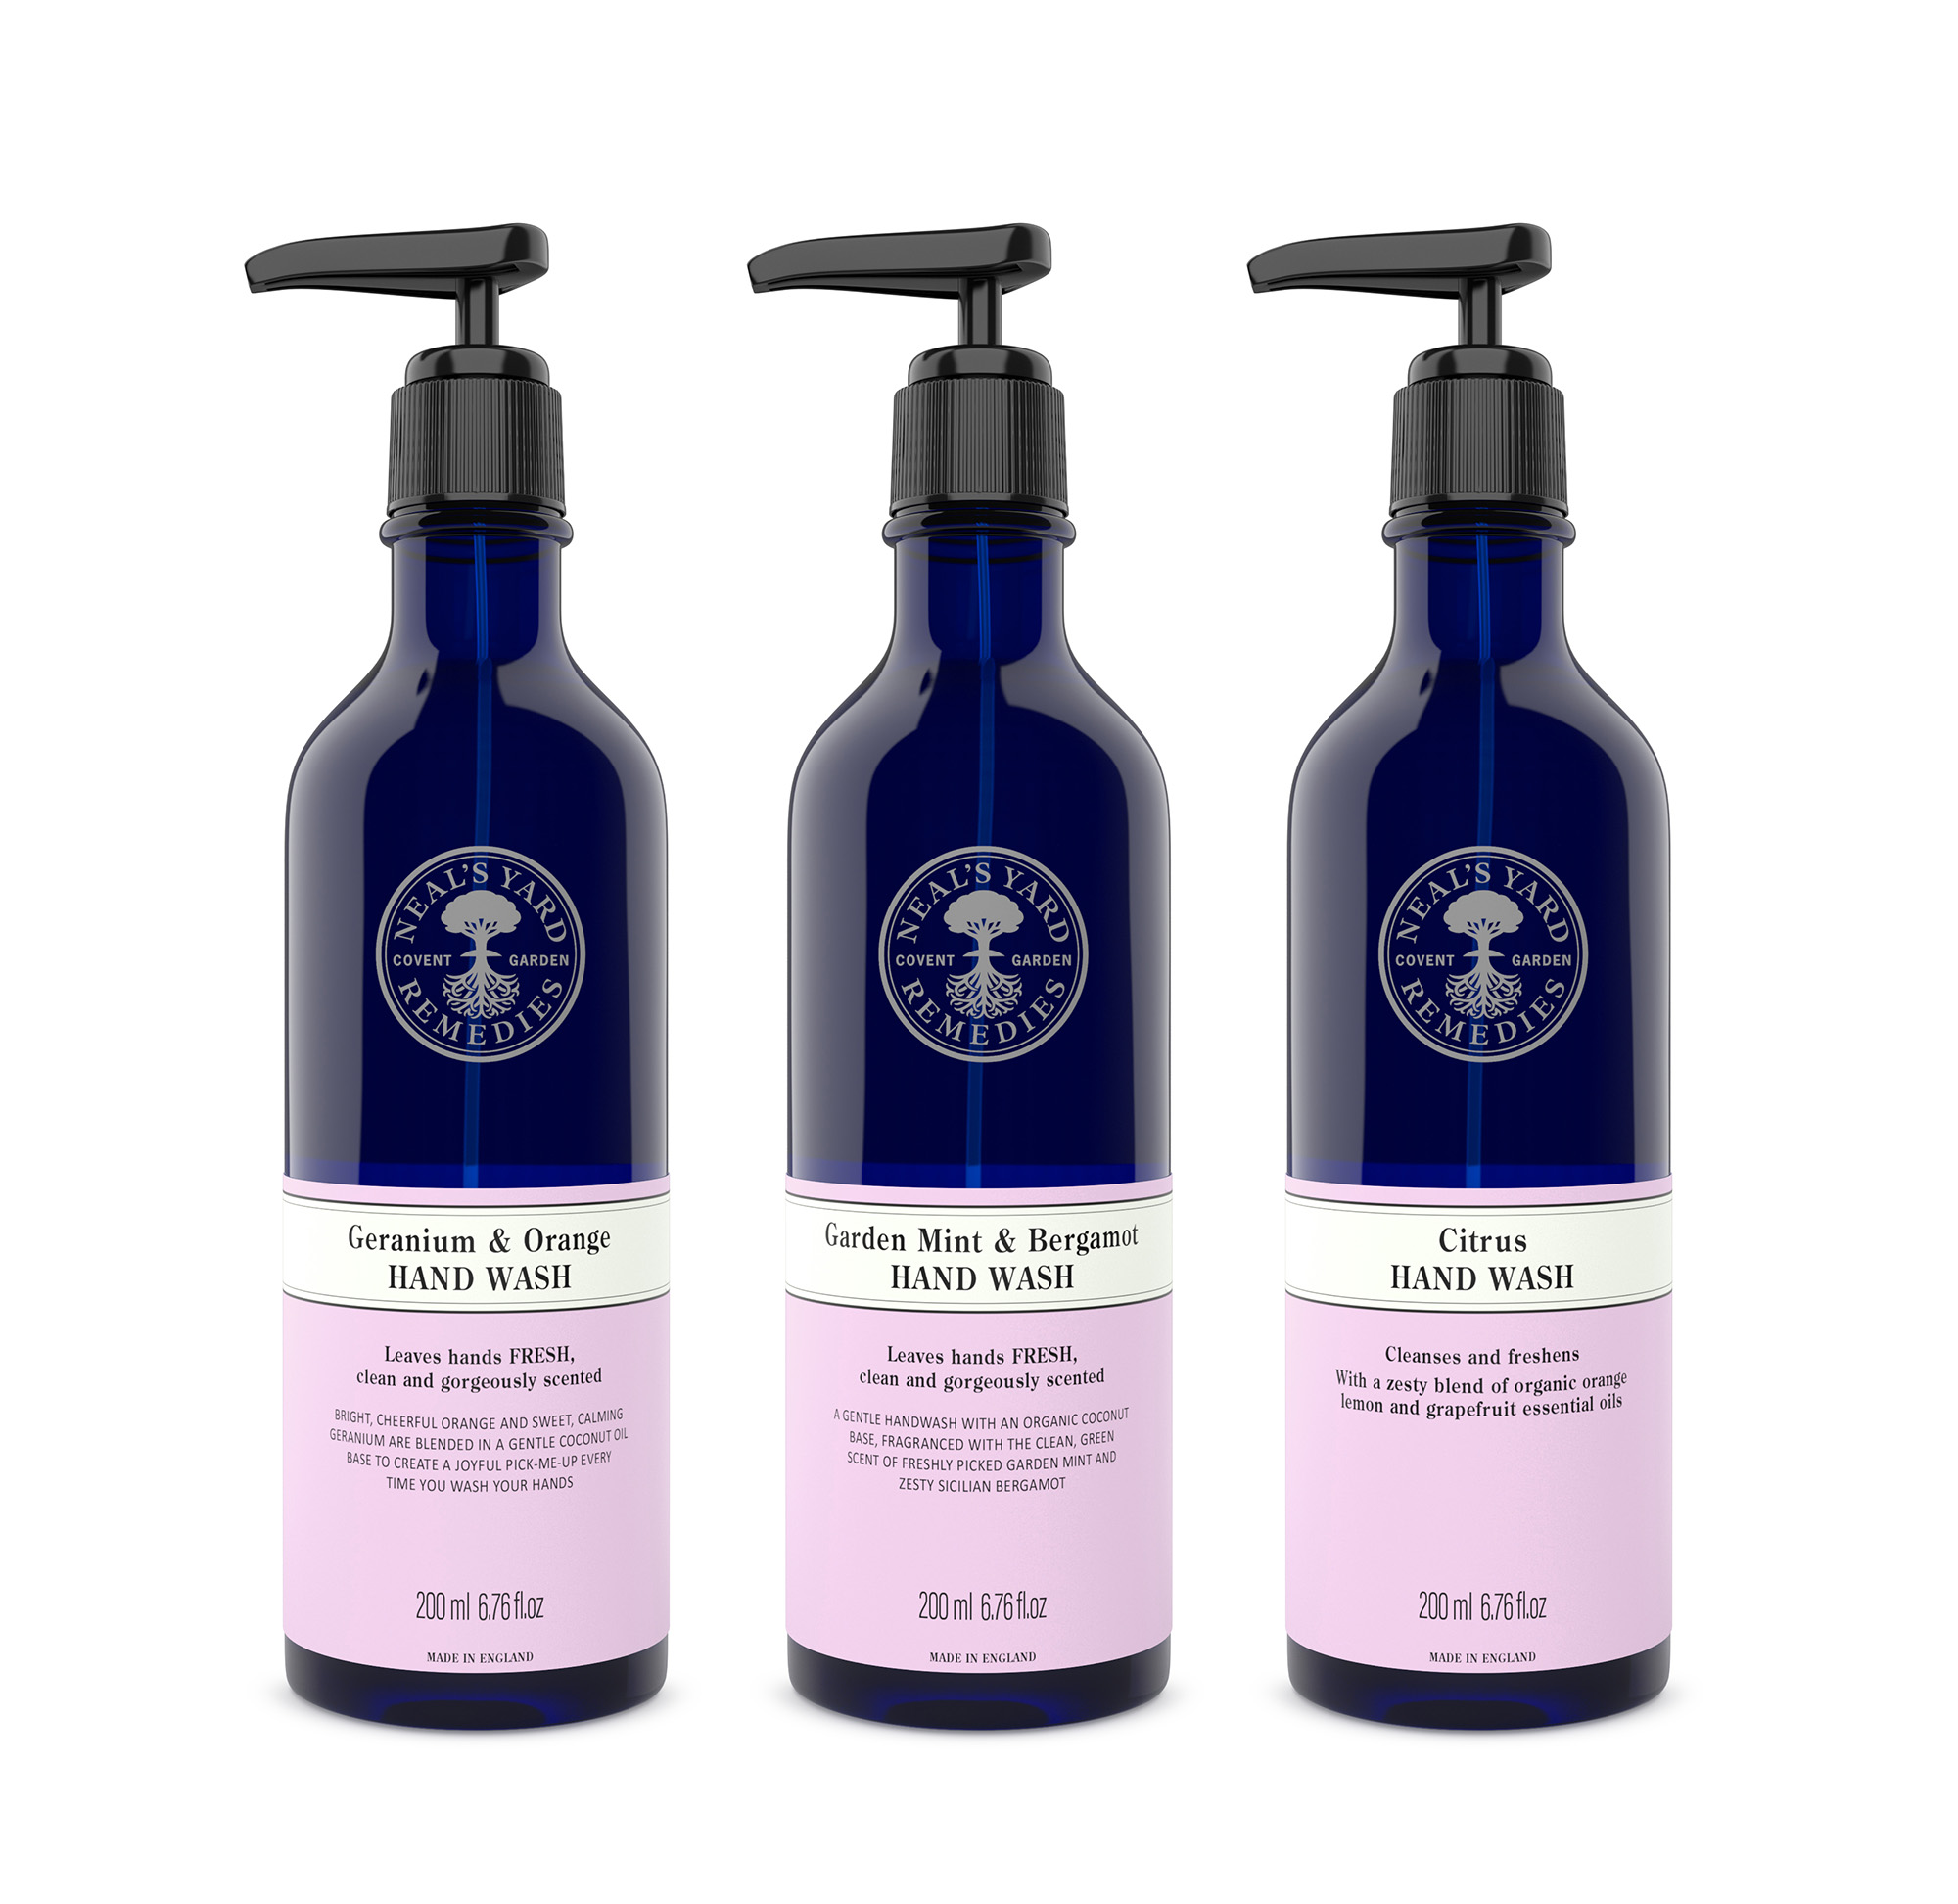
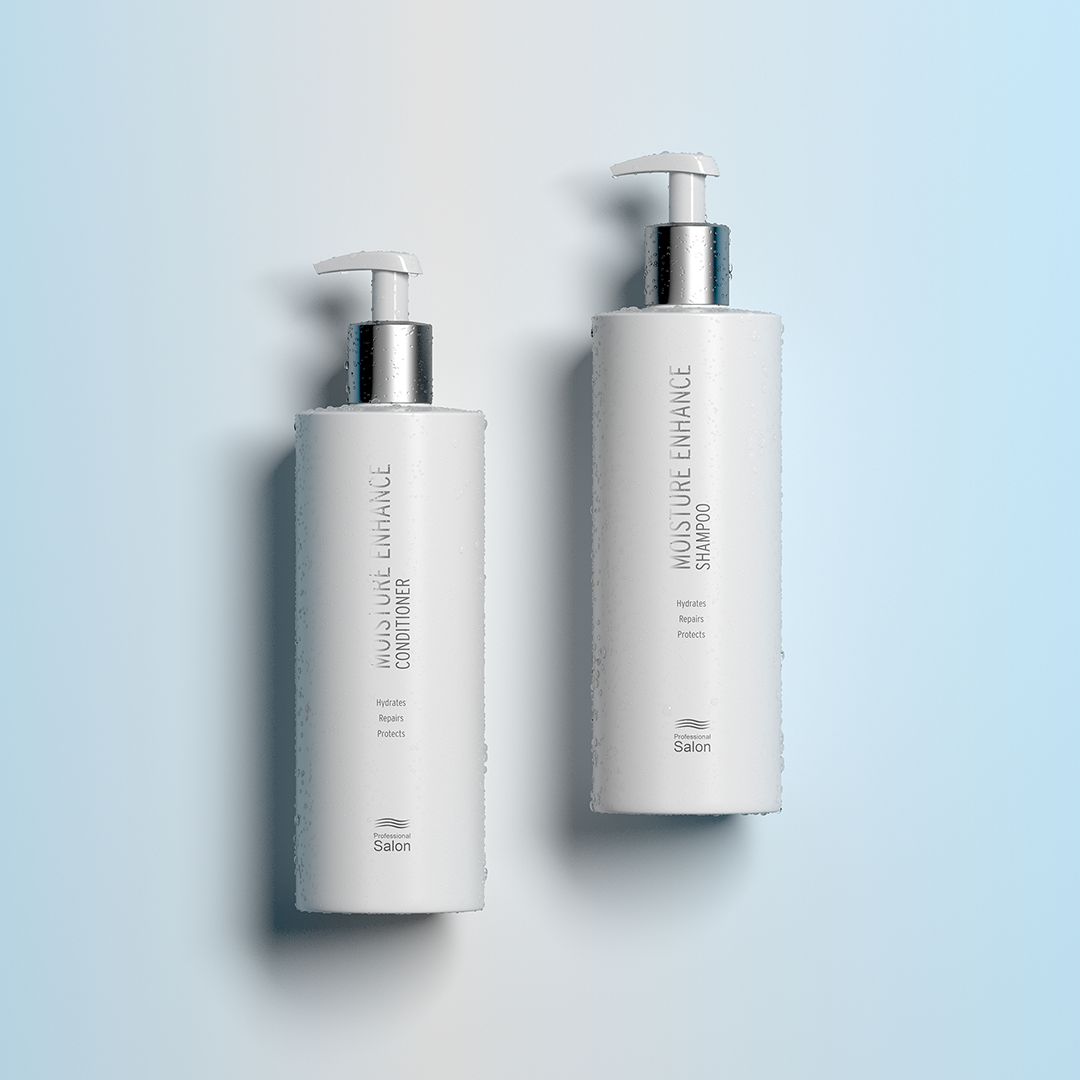
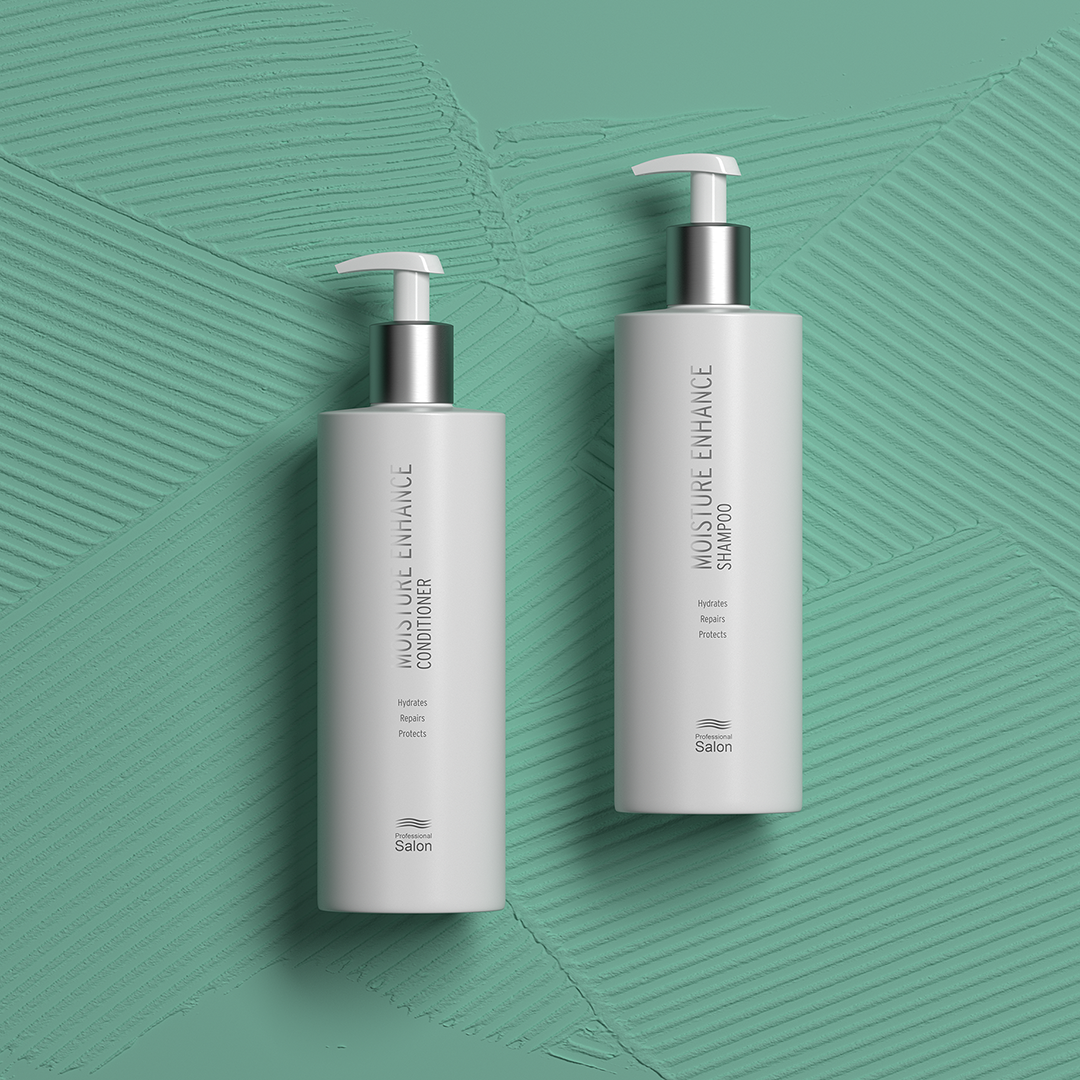
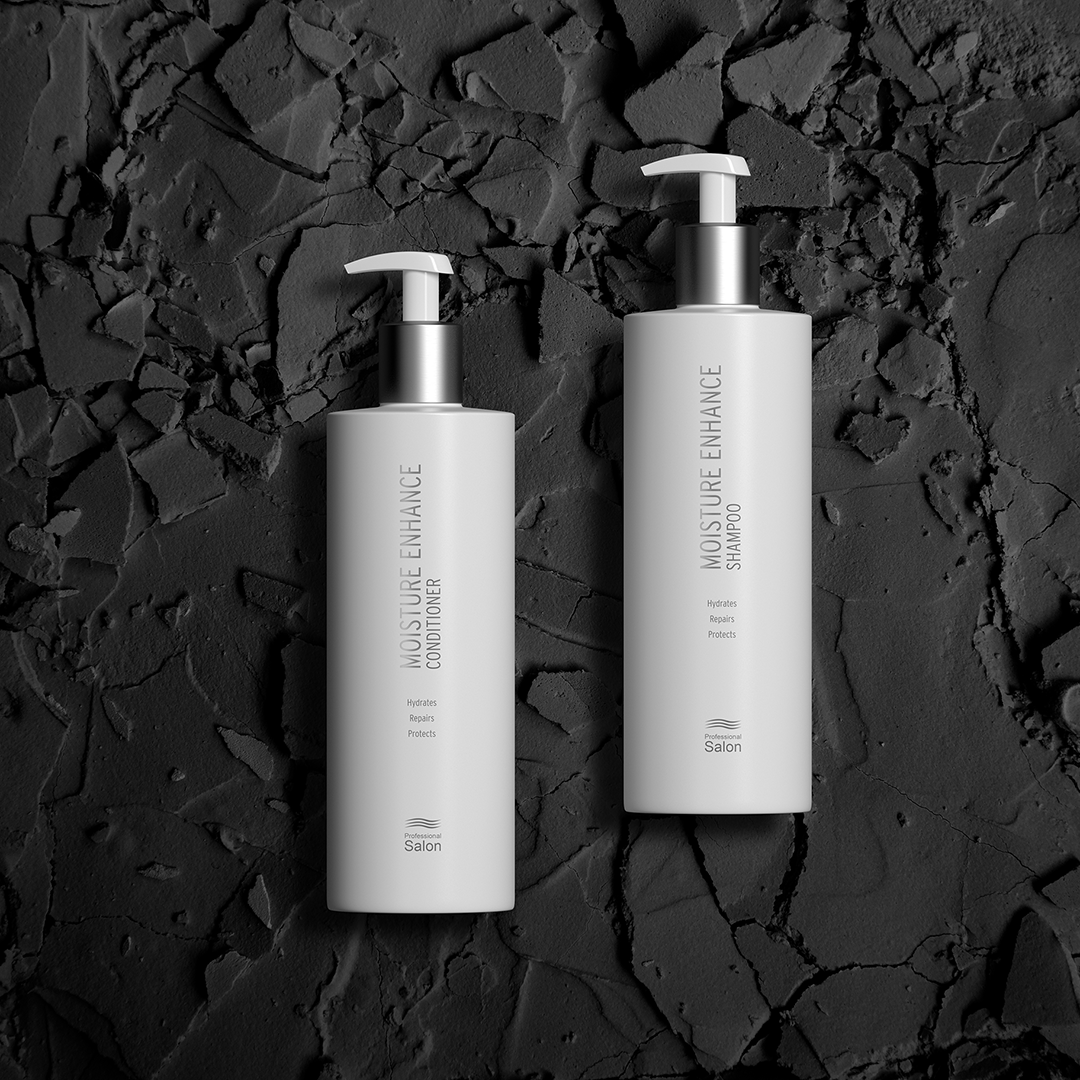
Here are a few images showing the flexibility of cgi for product photography. Once the model is created it can be shown in many ways.
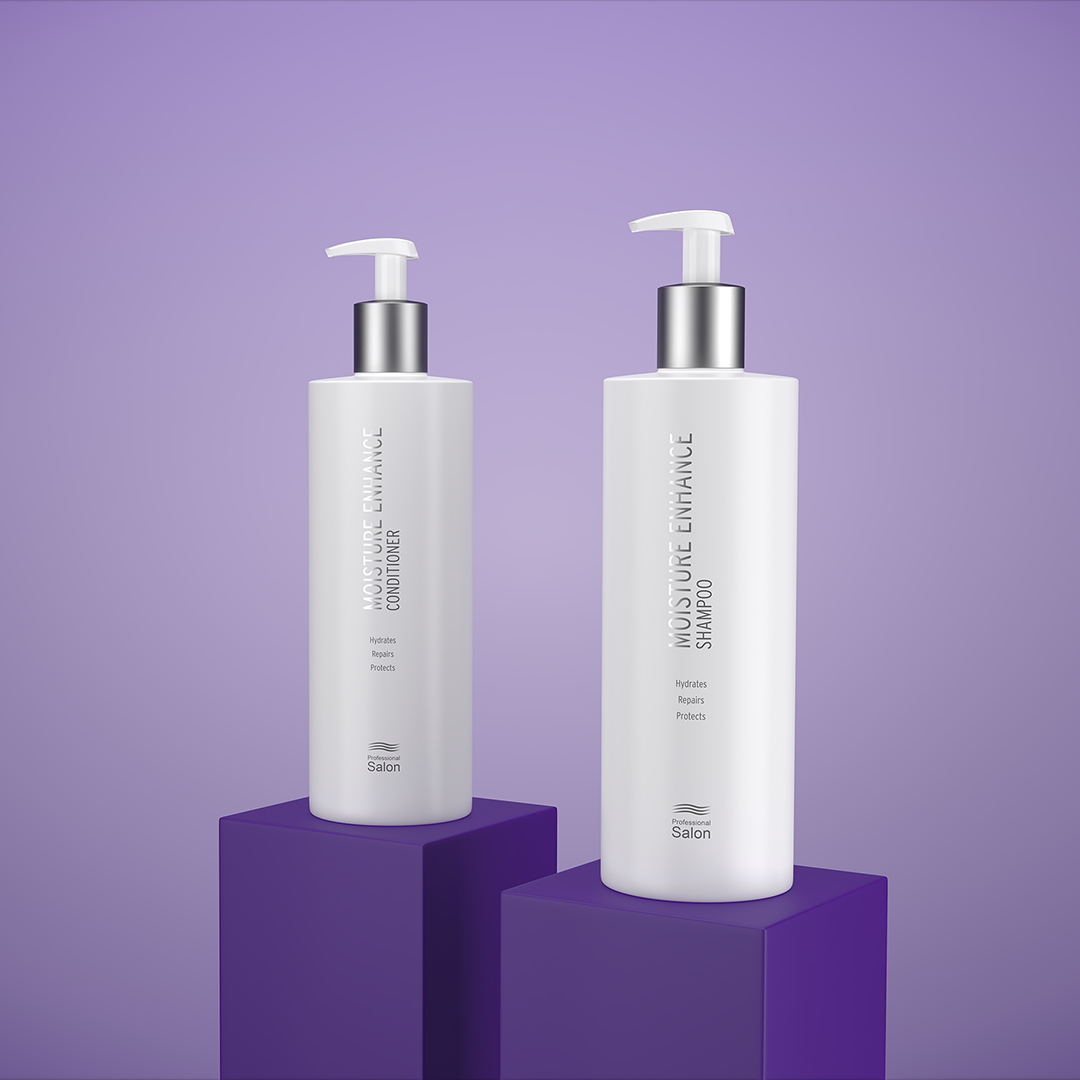
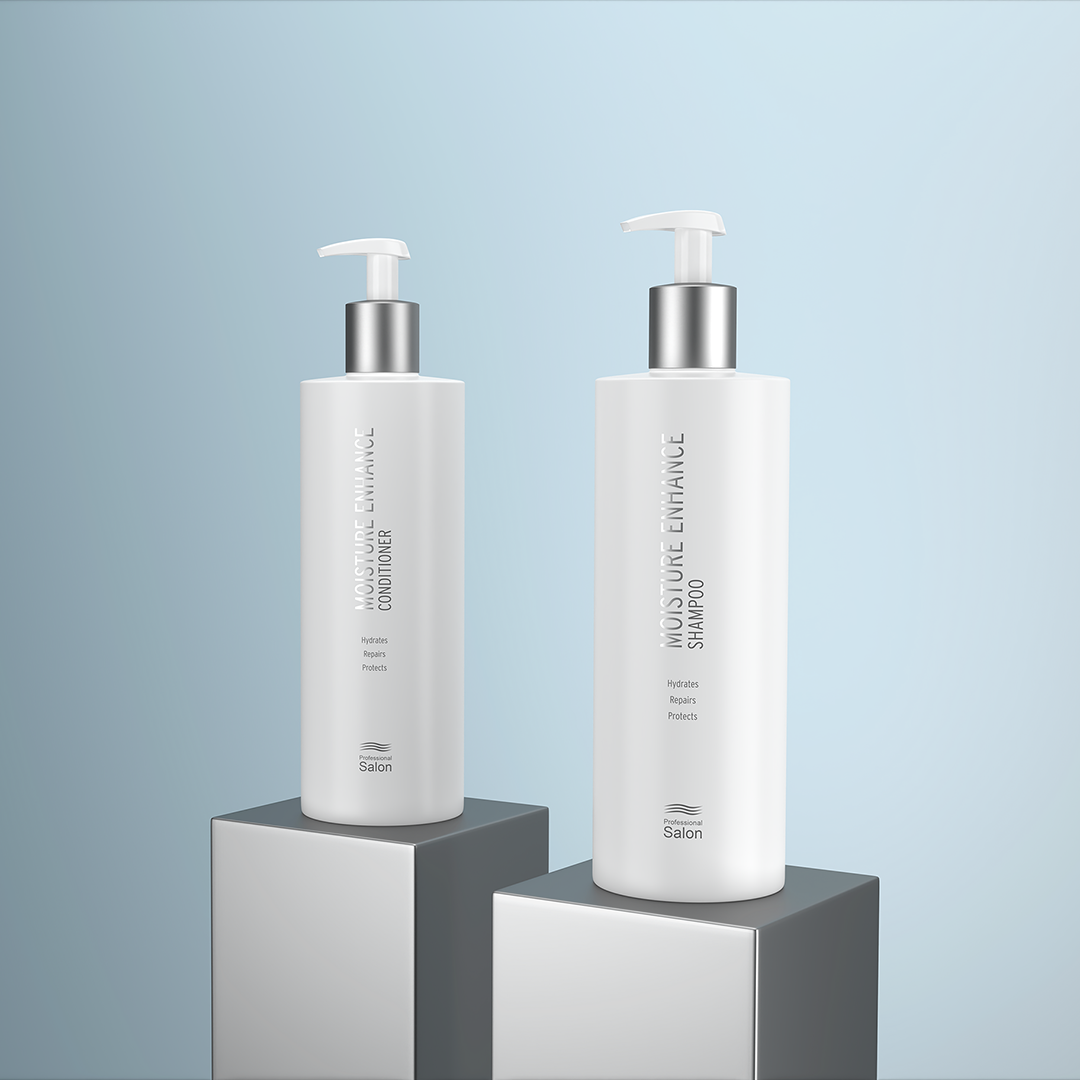
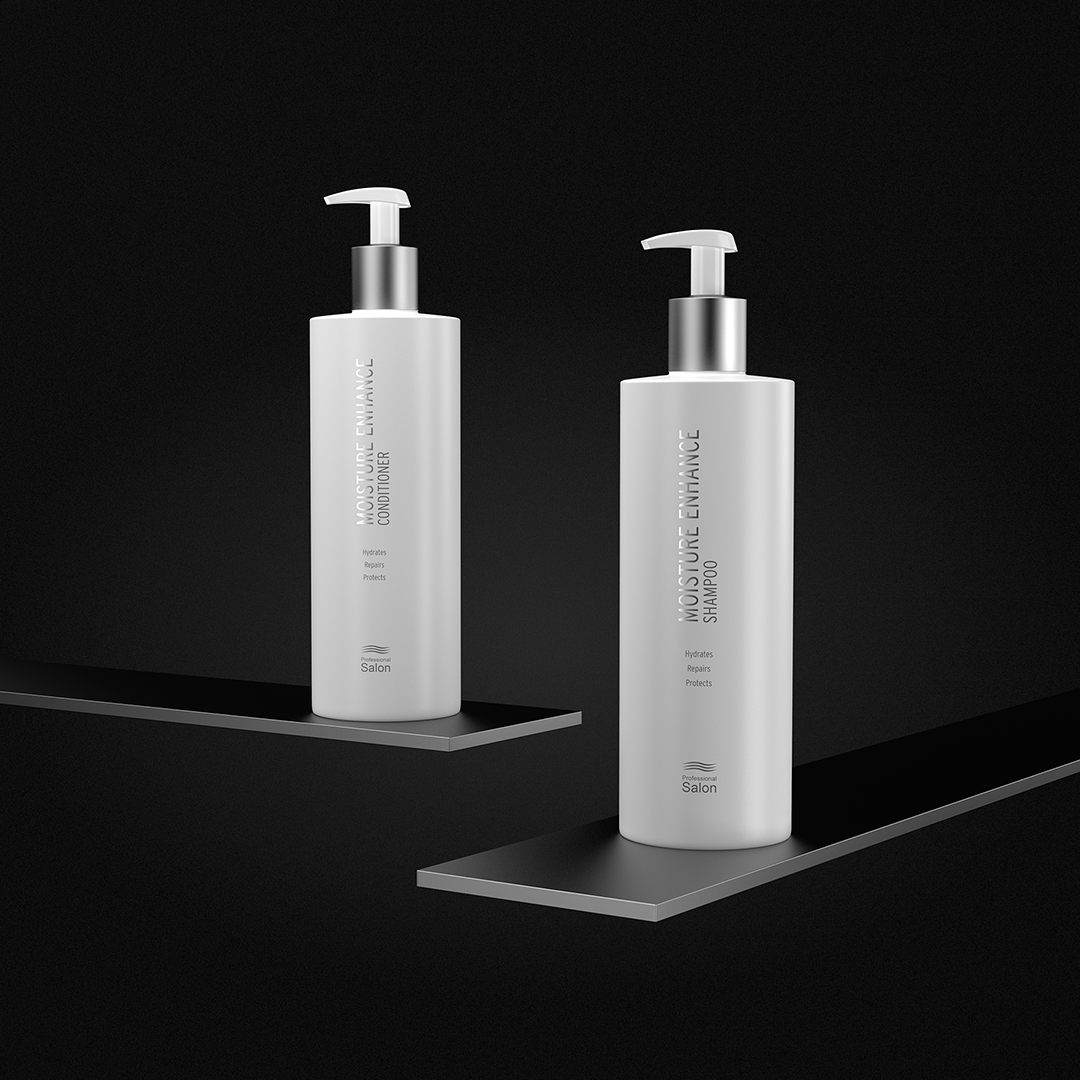

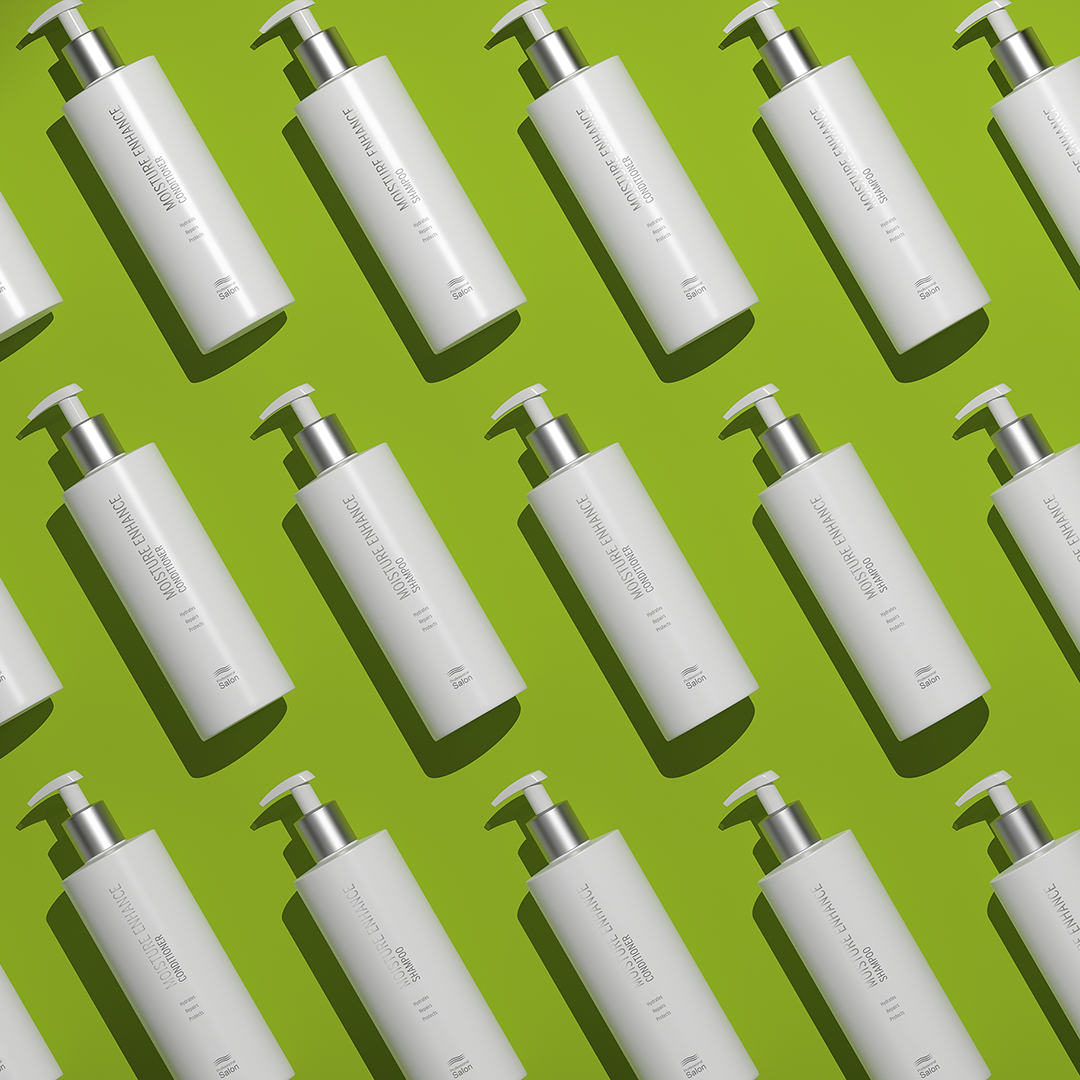
CGI product shots for furniture
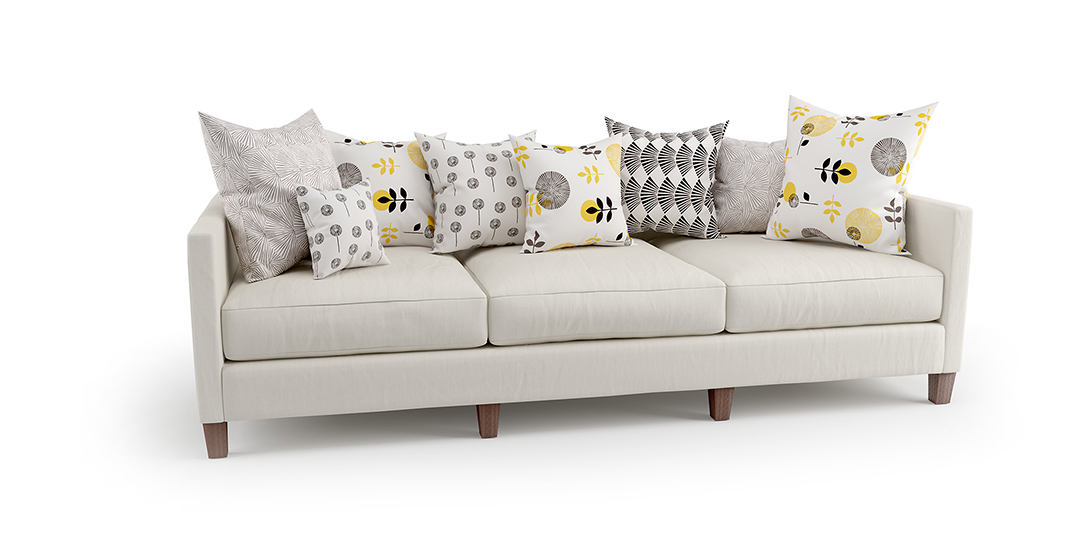
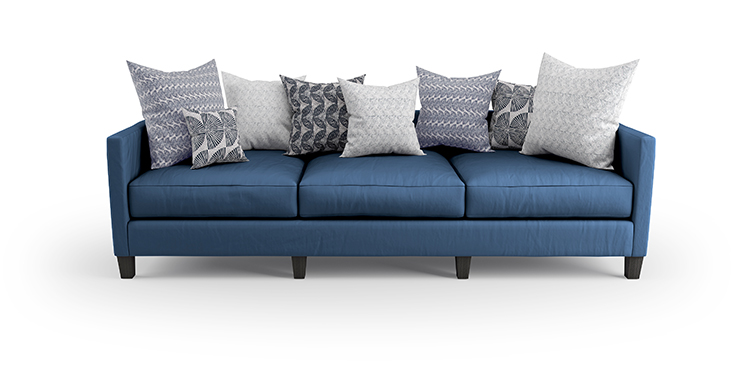
Here is an example of CGI product shots for soft furnishings. The client is a fabric print specialist and needed a way to show his product(s) in a real-life situation without having to go to the expense of printing fabric and having furniture upholstered. The solution was to create a generic sofa and cushion scene. Fabric patterns supplied by the client are applied. Working with the fabric designer I decided that a simply lit, studio-style scene, works well to show the product. Once the lighting was set up it’s a simple process of switching out materials and making high resolution renders.
CGI product animation
Product animation is a popular way to add user engagement and helps to keep the viewers on your website longer.
The same models/assets are used for stills and animations. Animation speed, camera and lens selection, format and focus can easily be changed. This provides huge benefits in cost and flexibility over traditional video work.
No need for expensive, specialist camera equipment, skilled technicians and studio hire.
Combining CGI and photography
Sometimes a full CGI image isn’t necessary. You may already have images that can be refreshed/repurposed with the addition of new CGI elements.
For example, a flooring company had previously commissioned location photographs to show a range of their products. Fast forward a few years, and they now want to update their marketing material.
One solution is to commission new photography. Another is to repurpose the existing shots by utilising CGI.
So here’s the process:
1. Build a basic CGI framework of the environment.
2. Match a CGI camera to the parameters of the original.
3. Create similar lighting to those used when shooting the original.
4. Combine the new flooring, match the perspective and render the scene.
5. Add a little photoshop trickery to put the shadows back.
You have a fresh, up to date image at a fraction of the cost of a reshoot.

Original shot
Repurposed shot with the new flooring
360 product shot spins
Another area where CGI is a great solution is to create 360 spins. Once a model is made and textured for still renders, creating a 360 product spin is a speedy process. There is no or minimal post-production required. They can be output as animated GIF’s, videos or HTML/javascript files.
Here’s an example:
Click and scroll to rotate the image. Click the arrows top right to enter full-screen mode.
CGI product shots are a smart choice.
